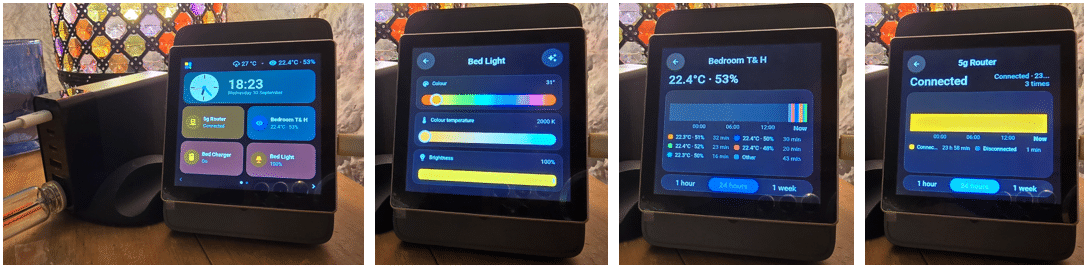
I experimented with it Specifications of ESP32-S3-4848S040a 4-inch 480 × 480 capacitive touchscreen based on the ESP32-S3, with 16 MB Flash and 8 MB PSRAM to use it as a display for Home Assistant (HA).
I bought the board from AliExpress. It can be a surprisingly capable little HHA display with the right software (so much so that by October 9, 2026 I now have THREE).
The first firmware I installed was EspControlCreate a basic but nice ESPHome-based smart-home control panel for Home Assistant (HA). The Guition 4848S040 is one of the boards specially supported by EspControl (up to 10″ – but the 4″ is just-under-30 euros – it just went up from 25 euros on AliExpress this week). It worked, and I could control HA devices from the screen – and compared to my Tasmota modified Sonoff NSPanel (original), much better and easier, but I wanted something rather more flexible. We are leaving NSPanel Pro out of this discussion as it is Android and NOT easy to mod.
I then moved to the same hardware cardthe new name for ESP screensby Max Gramser. It provides a drag-and-drop interface to build HA touchscreen pages without writing the display configuration in YAML. The project supports CYD and Guition ESP32 panels (and others).
And I have to say We like it very much. When I started in the morning I had never heard of Tessera – by noon I had a working display with one page and a few working panels – by evening – it was in the box. in my bedroom in the bedside cabinet. replace the Sonoff NSPanel and achieve far, far more – See main images above for actual working unit.
Note that the screen is an incredibly good size to replace the original NSPanel controller.
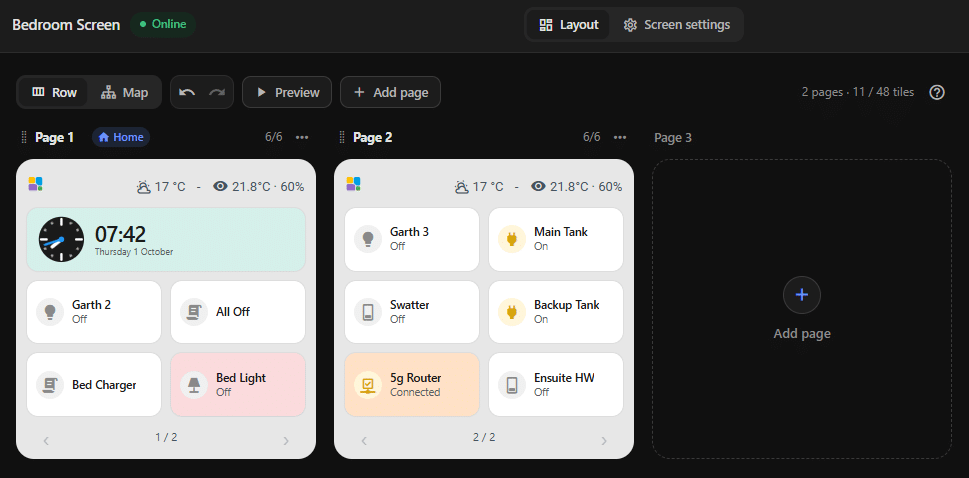
Guition becomes a real small Home Assistant control panel, with tiles for lights, switches, sensors, weather and other entities directly from HA. The current firmware supports multiple pages and, in recent releases, significantly more than the original 3×3 arrangement – with an icon on the top left and optional time/date/forecast etc on the top right. At the very bottom, easy touch page switching. I used the 3*3 arrangement (plus headers and footers if multiple pages are used) here for my first unit – but read on…
One particularly useful trick I discovered is to create combined Home Assistant template sensors. For example, instead of using separate tiles for temperature and humidity (you only have a maximum of 9 tiles per page to work with on my particular 4″ screen when using the 3*3 format), I created an entity that shows:
21.4°C · 48%
That’s a great way to optimize the use of a tile or in my case the header area.
In the top header area I also used a simple template entity whose state is just “-“ as a spacer – a surprisingly effective way to get a little more breathing space between elements on the screen.
The next stage was the display in one Sonoff NSPanel Pro housing. I’m currently still using USB power, but am looking at supplying the guition internally from a small isolated 230 V → 5 V supply, using the board’s internal power connection (8 way connector – not the 3v7 battery connector) instead of having a USB cable hanging from the side (current situation).
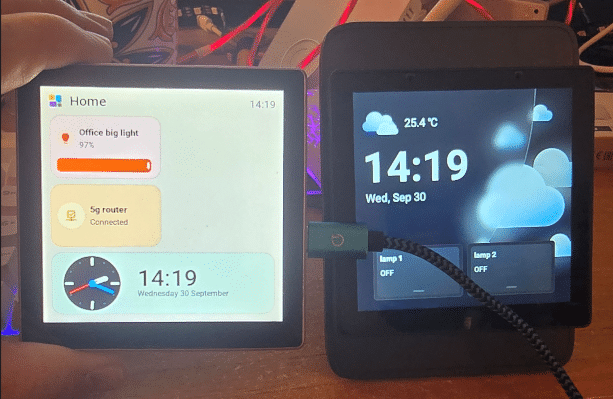
There was also a Wi-Fi wrinkle to sort out, as different parts of the house use different access points. The good news is that the Tessera author has confirmed this Multiple Wi-Fi networks and firmware updates are supportedso that should be easy. (It is – I have now used multiple access points in a group)
While operating in the bedroom, so far the combination of the inexpensive Guition hardware and the Tessera software looks extremely promising. My first board now runs on the bed 24-7, the second will also be in a desktop box in my office, the third sits on a white wall junction box cover, provided I can find space in the junction box for a small sealed 5V supply.
Note that in the above, with a working HA setup – there is no coding involved to open this display from scratch. See the actual pages (dark scheme) in the lead photos for this article.
State of the art now: my bed panel – note that the editor does not show the dark theme of the current panel.
Update October 9 – 2026
My final panel below – Note that I’ve moved to a 3 wide by 4 high format which you can do on the run. Same width for text, a little less wasted white space vertically, keeping each panel large enough for clumsy fingers.
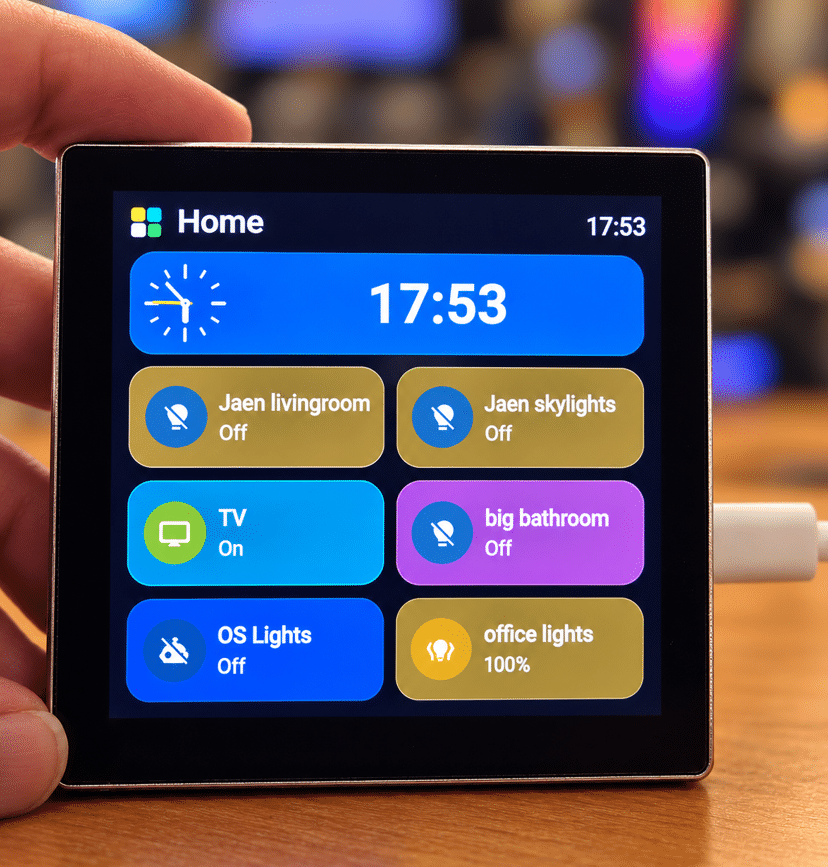
Capacitive touch – isn’t that LIVE – and there’s no reason I can’t have a few pages. I took this panel out of the box late afternoon and by mid evening I was blogging THIS. Meanwhile, it’s so easy to change live – I can set two of the three displays to this format – the display next to the bed can stay at 3×3 – because I generally don’t have my glasses in bed 🙂
This could go on, but time to stop now – I have some new Meross and Sonoff gadgets to review.