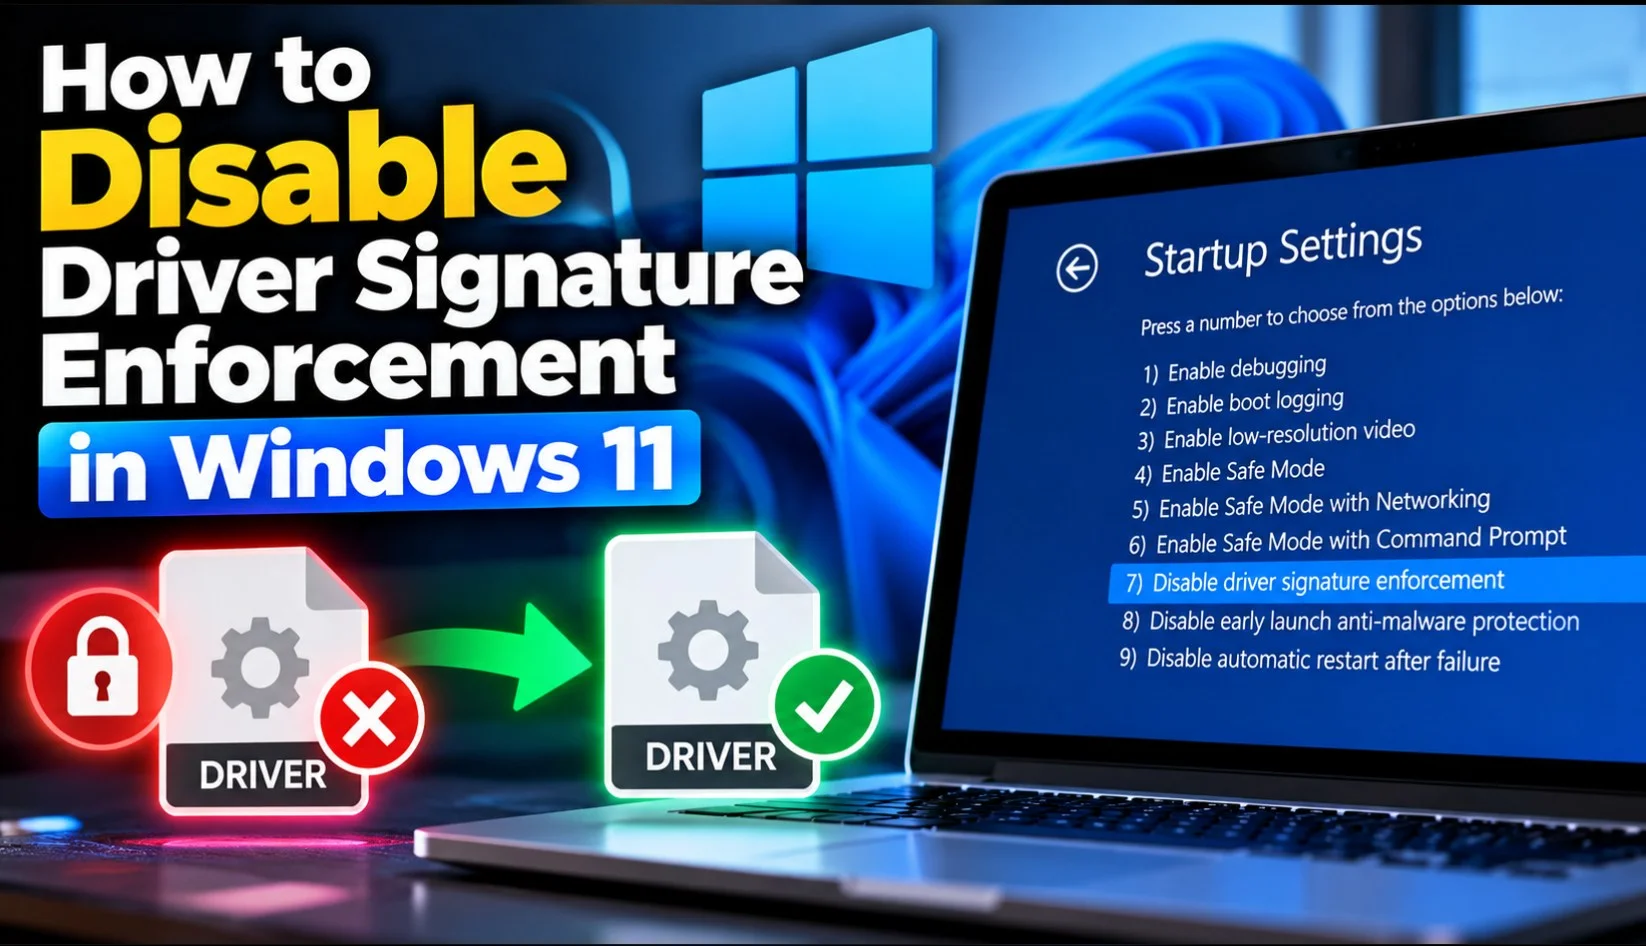
Windows 11 refuses to load kernel-mode drivers that aren’t properly signed. That rule is called driver signature enforcement, and most of the time you never notice it. You run into it when an old scanner, a homebrew USB device, a phone flashing tool, or a driver you’re developing yourself won’t install, and Device Manager shows a yellow warning instead.
You can turn enforcement off in two ways. The first disables it for a single boot through Startup Settings, and Windows switches it back on by itself after the next restart. The second puts Windows into Test Mode with bcdedit, which stays on until you turn it off and lets Windows load test-signed drivers.
Before you start, understand what you’re switching off. On 64-bit Windows, Microsoft’s kernel-mode code signing policy requires all kernel-mode code to carry a digital signature, and that check helps keep malicious drivers out of the most privileged part of Windows. Only disable enforcement for a driver you trust, from a source you know, and turn it back on when you’re done.
Which Method Should You Use?
- One-time driver installation: Start with Startup Settings (Method 1). It changes nothing permanently.
- Driver development or testing: Consider Test Mode (Method 2) only when the driver is test-signed, and your work actually requires it.
- Everyday hardware: Look for a properly signed driver through Windows Update or the device maker’s official website before trying either method. A signed driver avoids all of the trade-offs below.
Method 1: Disable Driver Signature Enforcement for One Boot
This is the safer option. Microsoft lists Disable Driver Signature Enforcement among its Windows startup settings, and its BCDEdit documentation points users toward Startup Settings before editing boot data by hand. Nothing is changed permanently. Enforcement is off for that boot session only.
First, check whether BitLocker is on, run manage-bde -status C: in an elevated Terminal.
manage-bde -protectors -get C:Note the ID shown under Numerical Password and check that it matches the key ID saved in your account; corresponding to that, you will have your Recovery Key.
First, make sure you can actually get to your recovery key. Microsoft’s Find your BitLocker recovery key page lists where it may be stored, most commonly your Microsoft account. However, if you don’t want all this, then you can turn BitLocker off.

Alternatively, we can suspend or turn off the BitLocker used by the C: drive. On a BitLocker-encrypted Windows 11 PC, clicking Restart on the Startup Settings page can bring up the BitLocker recovery screen instead of the options list, asking for the 48-digit recovery key.
If it is, suspend protection before you start:
manage-bde -protectors -disable C: -rc 2The -rc 2 keeps BitLocker suspended through the two restarts this method needs, one into the recovery environment and one into Startup Settings, and protection then resumes on its own. On a BitLocker-protected test PC, running this command first lets Startup Settings open without the recovery prompt. Once you’re back in Windows afterwards, run manage-bde -status C: again and check that Protection Status reads Protection On.

- Open Settings with Windows + I and go to System > Recovery.

- Next to Advanced startup, click Restart now, then confirm. Alternatively, you can do the same by holding Shift while you click Restart in the Start menu power option.
- On the blue Choose an option screen, go to Troubleshoot > Advanced options > Startup Settings.
- Click Restart.

If you haven’t turned off BitLocker and it is currently active on your Windows 11 system will ask you to enter the Recovery Key to unlock the Start-up Settings on the system.
Note: We already discussed in the beginning how to get the recovery key; check that. Here is a quick glimpse of how to do that again: open aka.ms/myrecoverykey on another device, sign in with the Microsoft account used on the PC, and find the key whose ID matches the Recovery Key ID on screen. Enter it and click Continue. Skipping this drive won’t unlock the system drive, so without the key you can’t get past this screen.

- When the Startup Settings list appears, press 7 or F7 to pick Disable driver signature enforcement.

Windows boots normally, and you can now install the unsigned driver. Windows may show a red security warning asking whether to install driver software it can’t verify. Choose Install this driver software anyway only if you trust the source.
The catch with this method is that it only lasts until the next restart. After a normal reboot, enforcement is back, and a driver that isn’t signed may stop loading. Device Manager then typically shows Code 52, which means Windows couldn’t verify the driver’s digital signature. For hardware you use every day, that’s a sign you need a signed driver from the manufacturer, or Test Mode as described below.
Method 2: Turn On Test Mode with BCDEdit
Test Mode is meant for driver development and testing with test-signed drivers. According to Microsoft’s BCDEdit /set reference, the testsigning option controls whether Windows loads test-signed kernel-mode code. It stays enabled across restarts until you explicitly turn it off.
Test Mode is not a general way to load arbitrary unsigned drivers. Microsoft’s page on enabling test-signed drivers explains that in Test Mode any certificate can sign a driver, but each driver file must still have a digital signature. It also notes that when Memory Integrity (HVCI) is on, the driver must be test-signed with a test certificate, and an unsigned binary isn’t supported. If a project ships its driver for Test Mode, its instructions will usually say so.
Check Secure Boot and BitLocker first
These steps apply only to the Test Mode procedure, and only when the relevant restriction applies to your PC. Microsoft’s documentation says that if bcdedit reports that the value is protected by Secure Boot policy, you need to disable Secure Boot, and that BitLocker may also affect your ability to change the setting. To check Secure Boot, press Windows + R, type msinfo32, and look at Secure Boot State under System Summary. If it says Off, skip ahead.
If it says On, think twice before going further. Secure Boot protects the startup process against tampered boot code, and turning it off lowers that protection for as long as it stays off. On a work or school PC, organisational policy may block the change entirely, and you should ask your IT team instead. If you go ahead, you can reach the firmware settings from Settings > System > Recovery > Advanced startup > Restart now, then Troubleshoot > Advanced options > UEFI Firmware Settings. The exact menu name varies between manufacturers, but Secure Boot is usually under a Boot or Security tab.
If the drive is encrypted with BitLocker or device encryption, sort that out before touching firmware settings, because changing Secure Boot can trigger a BitLocker recovery prompt at the next boot. We have already described the method to turn it off in the beginning of this article.
Enable Test Mode on Windows 11
- Right-click Start and choose Terminal (Admin). Approve the UAC prompt.
- Run:
bcdedit /set testsigning on- Wait for the operation to complete successfully.
- Restart the PC.
Note: if you get –
An error has occurred setting the element data.
The value is protected by Secure Boot policy and cannot be modified or deleted.This means Secure boot need to be turned off…

After the restart, Microsoft says Windows shows a Test Mode watermark in the lower-right corner of the desktop. It’s a useful reminder, but not the only way to check (see below). Install your driver now; Windows still warns about drivers it can’t verify, so read the prompt before accepting. Even in Test Mode, there’s no guarantee a particular driver will load, since Memory Integrity and other protections still apply.
How to Turn Driver Signature Enforcement Back On
If you used Method 1, there’s nothing to undo. A normal restart restores enforcement.
For Test Mode, open Terminal (Admin) again and run:
bcdedit /set testsigning offRestart for the change to take effect. Any test-signed driver you installed may stop loading once Test Mode is off, so remove it or replace it with a signed version first if the device needs to keep working.
Turning Test Mode off doesn’t restore your other settings. Secure Boot and BitLocker are separate, so handle them as their own steps:
- Suspend BitLocker again before changing firmware settings, for one restart this time:
manage-bde -protectors -disable C: -rc 1- Turn Secure Boot back on in the UEFI firmware settings, then boot into Windows.
- Confirm BitLocker has resumed. In an elevated Terminal, run:
manage-bde -status C:Protection Status should read Protection On. If it still says Protection Off, resume it straight away:
manage-bde -protectors -enable C:How to Check Whether Test Mode Is On
The watermark is the quickest clue, but you can confirm it from an elevated Terminal. In PowerShell, which Terminal opens by default, wrap the identifier in quotes:
bcdedit /enum "{current}"Look for a line reading testsigning Yes. BCDEdit only lists options that have been set, so on a PC where Test Mode was never enabled, there’s no testsigning line at all. A missing line, or one that says No, means Test Mode is off. In Command Prompt, the same command works without the quotes.

Don’t confuse it with flightsigning Yes, which can appear in the same list. That setting lets Windows load flight-signed code used by Windows Insider builds. It’s not Test Mode, and it doesn’t mean test-signed drivers will load.
To check Secure Boot from the same window, run:
Confirm-SecureBootUEFIIt returns True when Secure Boot is on and False when it’s off. On PCs that don’t support Secure Boot, it shows an error instead.
Troubleshooting
“The value is protected by Secure Boot policy”
Running bcdedit /set testsigning on with Secure Boot enabled fails with this message. Disable Secure Boot in your UEFI firmware settings, boot back into Windows, and run the command again.
The driver worked once, then Device Manager shows Code 52
That’s Method 1 behaving as designed. The one-time boot ended, enforcement returned, and Windows refused the unsigned driver. Look for a signed version from the hardware maker, or switch to Test Mode if the driver is test-signed.
The driver is still blocked with enforcement off or in Test Mode
Driver signature enforcement and Test Mode aren’t the only checks a driver faces. Memory Integrity, also called Hypervisor-protected Code Integrity (HVCI), is a separate Windows Security feature that makes it harder for malicious code to abuse low-level drivers. Microsoft’s Core isolation page says it’s on by default on most Windows 11 PCs. Turning off signature enforcement or enabling Test Mode doesn’t switch it off, and it can still block a driver.
Open Windows Security > Device security > Core isolation details and look for a specific incompatible or blocked-driver warning. If one appears, Microsoft’s advice is to check with the device maker for an updated, compatible driver, or hold off using that device until one is available. Microsoft recommends keeping Memory Integrity on. Turning it off removes a meaningful layer of protection against kernel-level attacks, so it shouldn’t be a routine troubleshooting step. If you decide to do it for a driver you fully trust, understand that trade-off and switch it back on as soon as you no longer need that driver.
A game refuses to launch in Test Mode
Some kernel-level anti-cheat systems won’t run while Test Mode is active. Turn Test Mode off with bcdedit /set testsigning off, restart, and the game should launch again.
BitLocker asks for a recovery key
Changing Secure Boot or other firmware settings while BitLocker is active can trigger a recovery prompt at boot. Enter the 48-digit key from your Microsoft account or wherever you saved it; Microsoft’s recovery key guide lists the usual locations. Suspending BitLocker first, as shown above, makes this less likely but doesn’t rule it out.
Methods That Don’t Work Anymore
Older guides often suggest two other tricks. Don’t rely on either to load unsigned drivers on Windows 11.
bcdedit /set nointegritychecks on appears in a lot of older tutorials. Microsoft’s BCDEdit reference states that Windows 7 and Windows 8 ignore this value and that it can’t be set while Secure Boot is on, and Microsoft doesn’t document it as a supported way to bypass driver signing on current Windows versions.
The Code signing for device drivers setting in Group Policy Editor is a driver-installation policy. It’s about how Windows responds when you install a driver package. That’s a different stage from the kernel-mode signing check Windows applies when a driver actually loads, which on 64-bit Windows requires a signature under the kernel-mode code signing policy linked earlier. Changing the Group Policy setting doesn’t remove that load-time requirement.
FAQ
For a short time and with a driver you trust, the risk is manageable. Leaving it off permanently is a bad idea, because signature checks help keep malicious drivers out of the Windows kernel.
Not in the sense of loading any unsigned driver forever. Test Mode stays on across restarts, but it’s designed for test-signed drivers, and on PCs with Secure Boot enabled it can’t be turned on until Secure Boot is disabled.
Option 7 is a one-time boot setting by design. Every normal restart turns enforcement back on.
Turn Test Mode off with bcdedit /set testsigning off and restart. Third-party watermark removers only hide the text while leaving Test Mode active, which defeats the purpose of knowing it’s on.
Conclusion
For a one-off install, the Startup Settings route is the one to reach for. It needs no commands and undoes itself on the next restart. Test Mode makes sense when you’re developing or testing a test-signed driver and accept running with reduced boot protection while you do.
If a driver keeps forcing you into either method, it’s worth checking whether the manufacturer has released a signed version, or whether newer hardware supports Windows 11 out of the box.