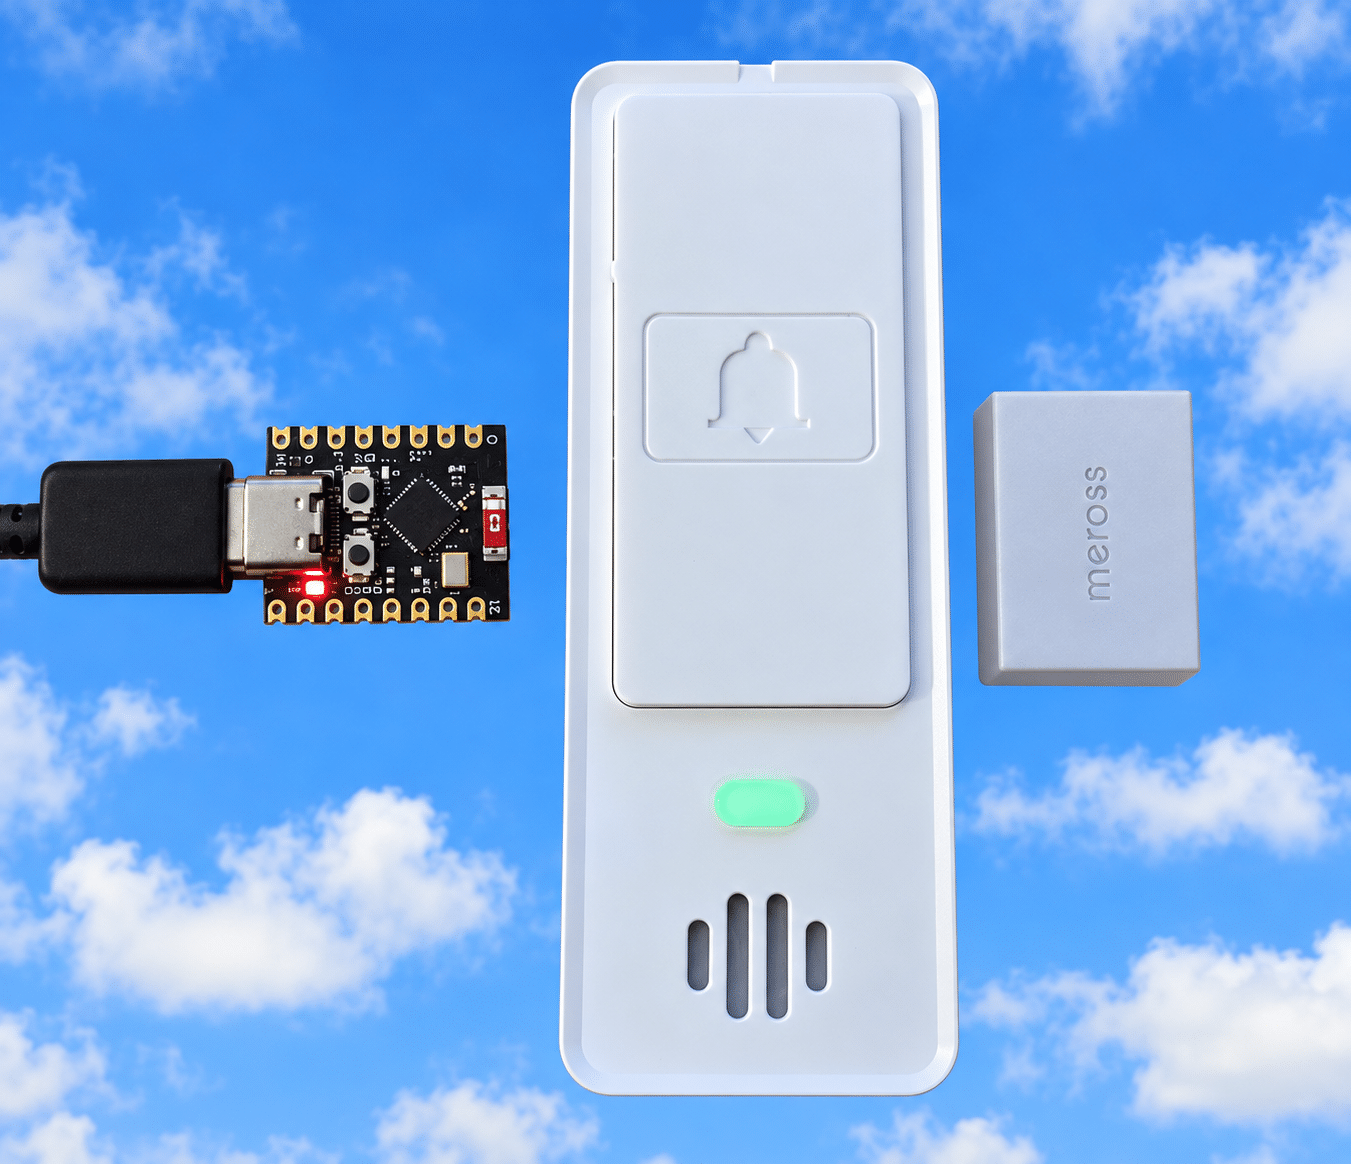
After my last article about new Meross devices (MS120 and MS700) here are the other two devices that arrived for me this week.
Meross MS220 Smart multi-function door sensor
The MS220 is a neat if large door sensor but not like any door sensor I’ve seen so far. Like the other Meross devices here, the MS220 is not your usual WiFi, Zigbee or general RF sensor – it works on Bluetooth BLE. Others may take you directly to the Meross APP and the recommendation to use a Meross HUB for these devices. Without the HUB you are limited to the Bluetooth range between the device and your phone running the app. As you can imagine this is not much fun.
Well, I went a different way than you see here – because I’m a home assistant fan as you see in the previous blog entry and recently discovered how easy it is to make BLE PROXIES – so a very cheap and small USB powered “relay” between Home Assistant in this case and the Bluetooth BLE device – ie the door sensor. The ESP-C3 is ideal for this – small – neat. I have yet to remove the pesky RED LED on my first proxies – not under software control – and totally pointless. Having a very old 3D printer – I wish someone did not make amateur-looking small boxes for the ESP32-C3 with USB-C from one end – but of course at least in the EU, now they have introduced the rip-off tax against AliExpress and others, boxes for a few euros are off the menu. I guess I should get a new printer.
So, this time I didn’t even have my phone open to configure. I pulled the MS220 out of the box, inserted the supplied CR123a battery and with my little BLE proxy in the same room (my office) as the MS220 – and several rooms away from my Home Assistant box, I then opened my Chrome browser, Home Assistant integrations – MEROSS and searched for the MS220 – that is, after pressing the little green button. Seconds later – done – one MS220 plugged into the Home Assistant and running.
The MS220 comes with a small white magnet unit – and this should be placed near the top with the MS220 main unit – to indicate CLOSED. For most door sensors that would be it – but not this one. There is a large doorbell button on the front of the main unit. Press it and the device will emit a loud short beep and alert the Home Assistant. So I assume (I hate reading manuals) that this means the MS220 and the magnet should go on the outside of the door – which is unusual in itself, but the kit is waterproof.
Hah – I was going to say but what if the door is on the right and the door frame is on the left? It turns out that you can put the magnet on the top LEFT so easily. Unusual and OK.
You get adhesive pads to mount both the MS220 and the magnet. vibrate the MS220 sets off a slightly delayed vibration alert – both audible (loud) on the unit and back in the Home Assistant – it also flashes the green light on the MS220 for a while.
All this is good so far – the claim is for battery life of up to 3 years – obviously I can’t verify that. I really hope the claim is correct because CR123a batteries are not cheap compared to the more common CR2450 batteries popular in IOT devices. Amazon (for always taking the mickey) charges 34 euros for a pack of 10 Duracell CR123A – that’s over 3 euros/dollar a battery or worse 4.29 for a pack of 2 VARTA CR123a. That’s just laughable. They also sell unbranded for maybe 2 euros – but let’s compare that to CR2450 batteries which can be had for well under 50c.
There is another feature on the MS220 – a button – I have yet to figure out what that does, but I think that will come to me. So far I love this device.
You can of course go down the route of using the MS220 with the Meross app and their HUB (which I also have) to access BT devices like this anywhere and that’s fine – no doubt others will cover this in depth. That’s probably the best way if you have a house full of Meross kit, but I have Aqara, Sonoff, Meross and countless devices from other manufacturers – if I go down the path of using their hubs – I’d have more hubs than devices 🙂
Anyway, I wrote about it in the last blog entry, but the MEROSS integration (not the MEROSS WIFI integration that I also use) takes care of all their new devices and is SO easy to install and use in Home Assistant. Well done.
While I ponder what that “button” contol is for, let’s take a quick look at the latest item from the current mailbox…
Meross MS220 Smart multi-function door sensor
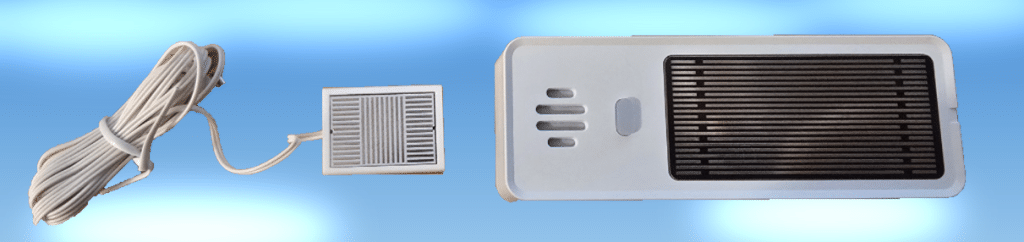
The sensor beeps when you touch the main sensor area and below that are two short pins that you can attach that lead to with the extension sensor (although I think I’ll cover the connectors with silicon to be safe). This device is similar to the others in the range and has its own beeper as well as sensors exposed to the Home Assistant when set up as I did the previous device. Oh and it seems to have a low temperature sensor. All right.
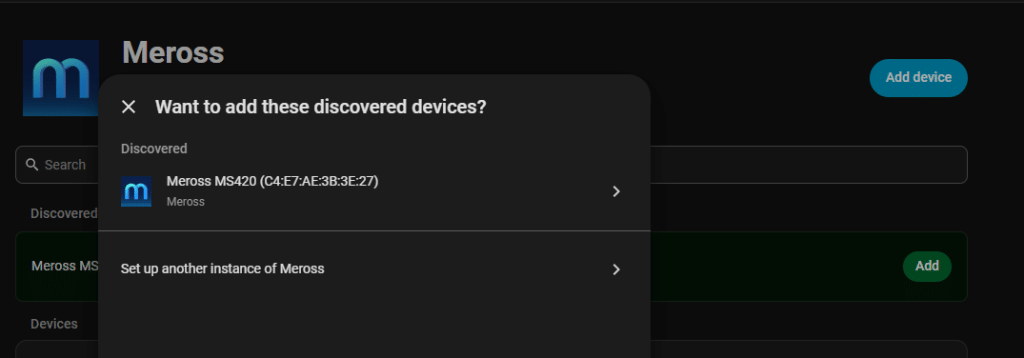
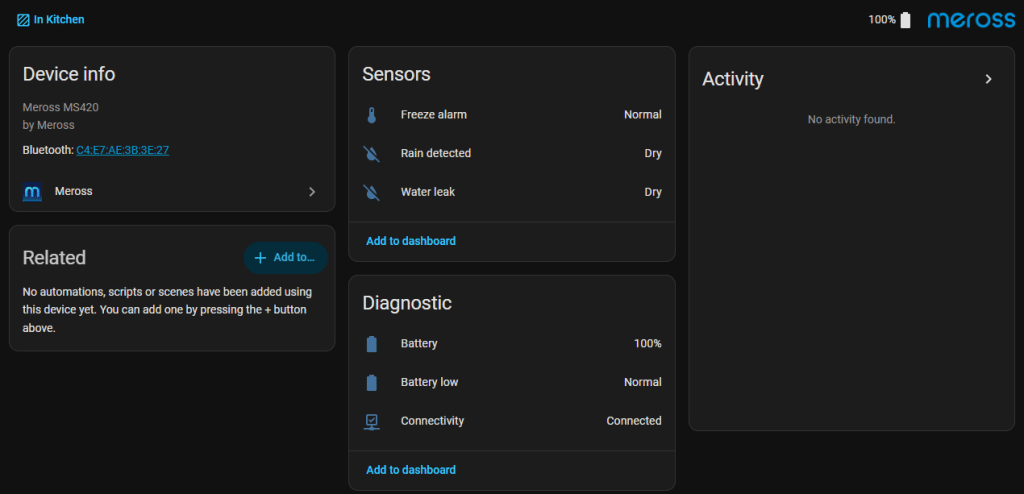
The two connectors below that are attached to the separate sensor are for water leak detection – separate from the rain detector. Good gadget provided those sensor tracks don’t corrode – only time will tell.
All in one good set of BLE devices!